From Idea to App - Implement Authentication in React
Now that the server is ready, we can take a step further into making our frontend live by consuming the API.
Upcoming
Earlier the design team provided us the designs for each authentication screens (you can check them here). We will bring them into code, and make our frontend handle authentication via our GraphQL API. For that we will:
Set up Apollo Client
Creating the auth store
We created a persistent zustand store useAuthStore that has the following properties:
auth– The object where we store the user’s details extracted from the decoded JWTaccessToken.accessToken– The encoded access token.setTokens(accessToken)– A function where we receive the encoded access token, decode it, and store the decoded contents inauth, and the encodedaccessTokenitself.reset– A function that resets the auth store, used on logout.
Initialising Apollo Client
First, we set up apolloClient with the appropriate links:
httpLink– This is where we configure the GraphQL endpoint, usingimport.meta.env.VITE_API_URLwhich is an environment variable we set in the.envfile.authLink– This link is responsible for making sure we always supply a valid access token for signed in users in every request. Here’s how it works:- If the user is signed in, and has a token but it has expired, we use our
refreshToken(stored in HTTP only cookies) to generate a newaccessTokenvia our REST API endpoint/auth/refreshTokens. - If the tokens are successfully refreshed, we store our new
accessTokeninuseAuthStore, and continue with our request to the GraphQL API. - If we couldn’t refresh the tokens, we sign the user out, but continue with the request to the GraphQL API.
- If the user is signed in, and has a token but it has expired, we use our
errorLink(added with the toast message panel ticket) – Responsible for handling network errors (if the servers are unavailable, or the user has weak internet connection), and giving feedback to the user via toast messages.
Handling logout
We created an util function logout that:
- Calls the
LogoutGraphQL mutation, removing therefreshTokenfrom the database, invalidating it. - Resets the
apolloClientcache. - Resets the auth store.
Creating custom Apollo hooks
Our API intelligently lets the frontend know when the user needs to be logged out if they try to access an endpoint they don’t have access to via the extensions.doLogout flag. We created custom hooks that log the user out with the above logout function if we are notified about it.
The hooks are:
useQueryuseLazyQueryuseMutation
Generating hooks via graphql-codegen
This may be familiar as we used codegen in our API to generate types for our resolvers, and in @repo/graphql to generate the schema types.
We are using it in our web app to generate hooks using the above custom hooks as a base, so we don’t have to manually define each query with their types. We reference the queries from @repo/graphql/queries, so every query will have a custom hook generated with types in place.
We will see this in action when implementing the authentication screens.
Set up toast messages
As per the designs we will have to provide users with feedback across different screens about the API responses. These include error messages, and success messages like letting the users know after setting their passwords that they can use their new credentials on the sign in screen.
Creating the messages store
We created a centralised zustand store for the messages, so they can be accessed from any component.
When messages are created, they can be specified with:
type– The type of the message, can be:successerrorwarninginfo
id– Identifies the message, so messages with the sameidwon’t be duplicated. If not specified, they receive a randomuuid.text– The content of the message.href– Optional, users will be redirected to the specified location if provided when clicking the toast card.expireIn– Optional, when set, the message will automatically disappear after the specified time (in milliseconds).
The messages can be created with the addMessages method of the store, which accepts an array of message inputs specified as above. Every message stored will be assigned a remove function which removes itself from the list when called.
The store is storing the messages in messages, and every message can be removed with the store’s removeMessages method.
Creating the toast messages panel component
Following the designs, we created a floating scrollable toast panel with fixed position on the bottom left corner of the screen.
We made sure that the panel won’t make the site inaccessible on smaller devices as the max height is 60% of the device height, and max lg wide.
On top of the messages a Clear button appears that removes all messages.
Extend error handling in GraphQL query hooks
To provide meaningful error messages on request failures, we extended our custom query and mutation hooks so when an error occurs it automatically creates error messages to the store.
We also added a custom option preventToastError to the hooks which when set to true, skips adding new messages to the store, allowing for custom error handling inside the component.
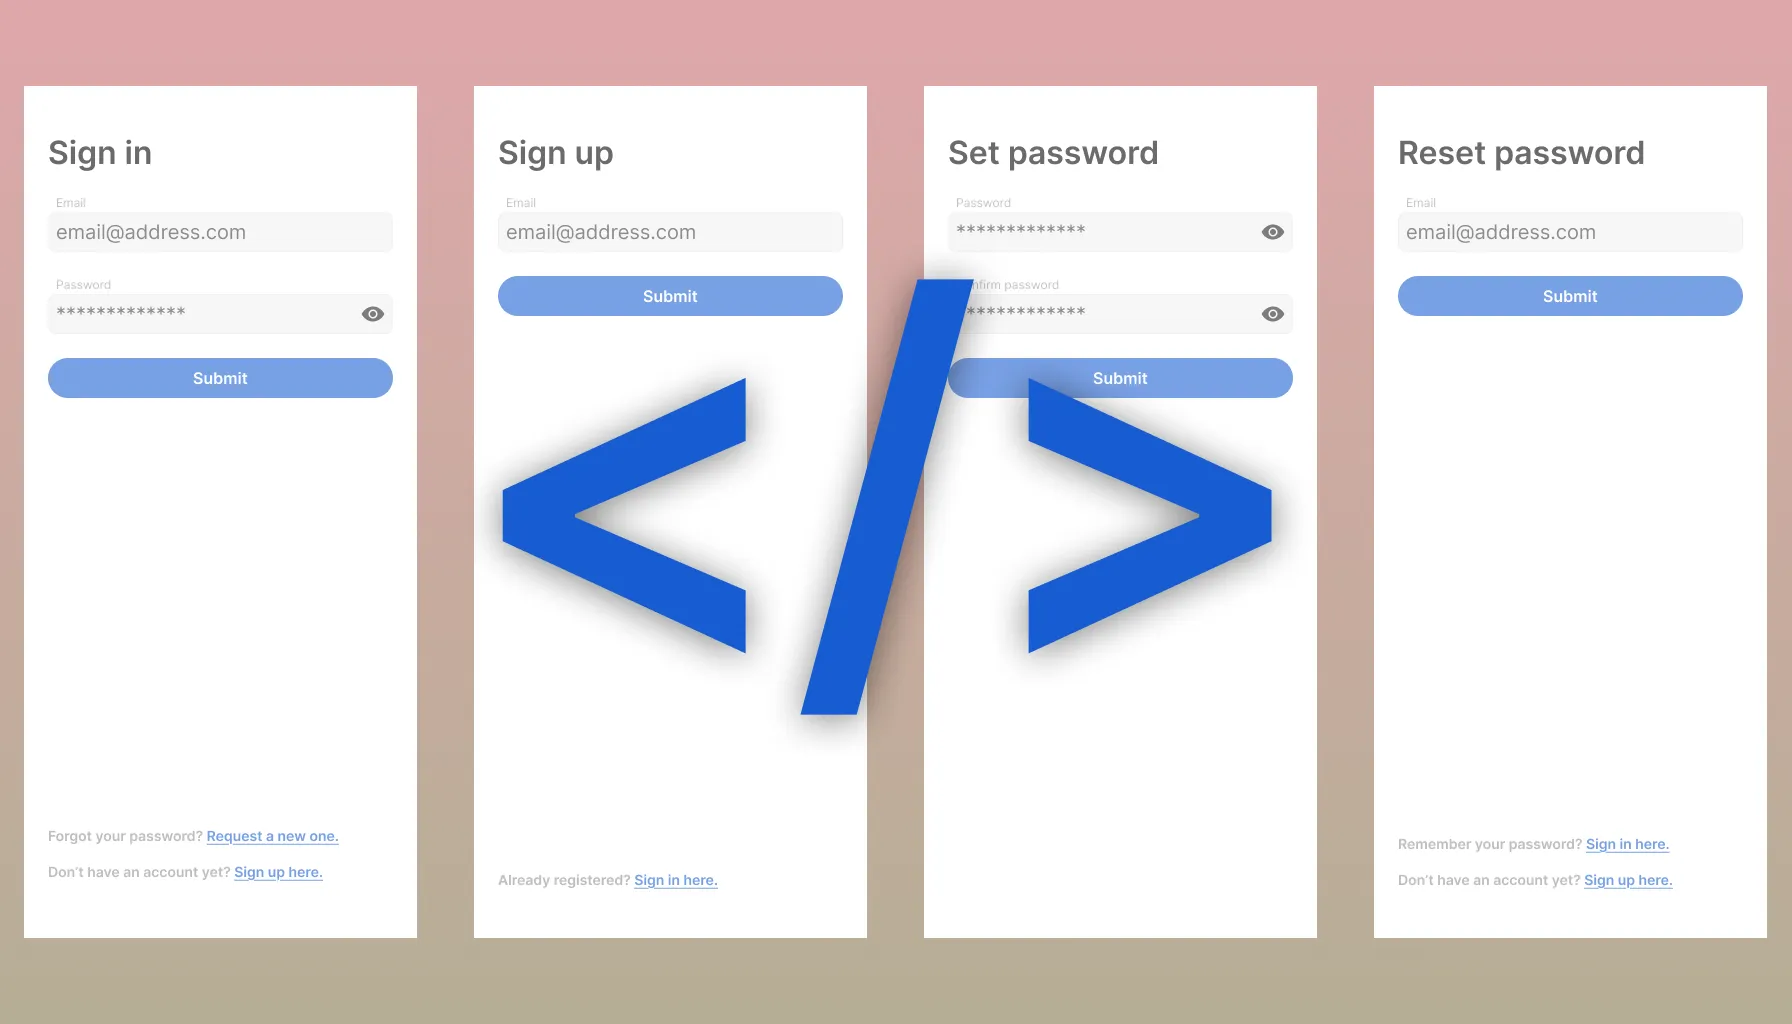
Sign in screen
Now that we wired the frontend and API together, it’s time to implement screens. We will start with the sign in screen.
Creating the screen
We created the SignIn component. It allows users to enter their emails and passwords to authenticate themselves so we can show their content in the app. Here’s a summary of its key features:
- Form Handling with Validation
- Uses
react-hook-formwithzodfor schema-based form validation. - The form requires an email (validated as a proper email) and a password.
- Uses
- Authentication Logic
- Integrates with
useSignInMutationto send login credentials to the backend. - On successful authentication, it resets Apollo Client’s cache, and stores the access token in
useAuthStorewhich will extract user information from it, authenticating the user.
- Integrates with
- User Experience Enhancements
- Provides inline validation error messages for email and password.
- A button allows users to toggle password visibility (
IoEyeandIoEyeOfficons). - All form controls, including inputs, are disabled during submission.
- Displays a loading state and disables the submit button when necessary.
- Shows error messages from the authentication API.
- Uses
react-i18nextto support multilingual text in both the form and confirmation message.
- Navigation & Links
- Includes links to password reset and account creation pages.
Creating routes
We extended our existing routing utility (ROUTES), adding all necessary route paths as variables for authentication:
SIGN_UPSIGN_INSET_PASSWORD({passwordTokenId})RESET_PASSWORDVERIFY_EMAIL({verificationTokenId})
Some of these are constants, storing the path as string (like SIGN_UP resolving to /signUp), and some are dynamic route functions, replacing the parameters with the provided value (SET_PASSWORD({ passwordTokenId: 'pwt' }) returning /setPassword/pwt).
Creating the router
We created a new router UnauthenticatedRoutes, which matches the SIGN_IN route with the SignIn component, and redirects users to it in case they navigate to an unknown route.
We are also conditionally rendering different routers based on the user’s authentication status, which is extracted from useAuthStore's auth object.
We render:
AuthenticatedRoutes– ifauthis setUnauthenticatedRoutes– otherwise
Sign up screen
We implemented the SignUp component to handle user registration. Below is a breakdown of its key features:
- Form Handling & Validation
- Uses
react-hook-formwithzodfor schema-based validation. - The form requires an email address, which is validated as a properly formatted email.
- Uses
- Authentication Logic
- Integrates with
useSignUpMutationto send user details to the backend. - Prevents duplicate toast error messages by using
preventToastErrors: true. - On successful sign-up, updates the state to display a confirmation message.
- Integrates with
- User Experience Enhancements
- Provides inline validation error messages for incorrect email input.
- Disables form submission when:
- The form is incomplete or invalid.
- The request is in progress (
isLoadingstate).
- Displays server error messages when the mutation fails.
- Uses
react-i18nextto support multilingual text in both the form and confirmation message.
- Navigation & Links
- Includes a redirect link to the sign-in page via the
AuthLinkcomponent. - The route is matched with
ROUTES.SIGN_UPinUnauthenticatedRoutes.
- Includes a redirect link to the sign-in page via the
Reset password screen
We implemented the ResetPassword component to allow users to request a password reset. They can enter their email address to which we send out a link that allows them to securely set a new password. Below is a breakdown of its key features:
- Form Handling & Validation
- Uses
react-hook-formwithzodfor schema-based validation. - Requires an email address, ensuring it is properly formatted.
- Uses
- Password Reset Logic
- Integrates with
useResetPasswordMutationto send a reset password request to the backend. - Prevents duplicate toast error messages using
preventToastErrors: true. - On successful submission, updates the state to display a confirmation message.
- Integrates with
- User Experience Enhancements
- Provides inline validation error messages for incorrect email input.
- Disables form submission when:
- The form is incomplete or invalid.
- The request is in progress (
isLoadingstate).
- Displays server error messages when the mutation fails.
- Supports multilingual text via
react-i18next.
- Navigation & Links
- Includes links to the sign-in and account creation pages via the
AuthLinkcomponent. - The route is matched with
ROUTES.RESET_PASSWORDinUnauthenticatedRoutes.
- Includes links to the sign-in and account creation pages via the
Set password screen
As the next step in the authentication flow, we created the SetPassword component, which allows users to set a new password using the passwordTokenId from the URL path. Here’s how it works:
- Token Verification
- Uses
useVerifyPasswordTokenQueryto validate thepasswordTokenIdbefore displaying the form. - If the token is invalid, displays an error message with a link to reset the password again.
- While verifying, an
OverlaySpinneris shown to indicate loading.
- Uses
- Form Handling & Validation
- Uses
react-hook-formwithzodfor schema-based validation. - The form requires:
- A new password, validated against
passwordSchema. - A confirmation password, which must match the new password.
- A new password, validated against
- Provides inline validation error messages.
- Uses
- Password Reset Logic
- Integrates with
useSetPasswordMutationto send the new password and token to the backend. - Prevents duplicate toast error messages using
preventToastErrors: true. - On success:
- Redirects the user to the sign-in page.
- Displays a success message using
useMessageStore.
- Integrates with
- User Experience Enhancements
- Provides a password visibility toggle with
IoEyeandIoEyeOfficons. - Disables form submission when:
- The form is incomplete or invalid.
- The request is in progress (
isLoadingstate).
- Displays server error messages when the mutation fails.
- Uses
react-i18nextfor multilingual support.
- Provides a password visibility toggle with
- Navigation & Links
- If the password token is invalid, provides a link to reset the password again.
- The route is matched with
ROUTES.SET_PASSWORD({ passwordTokenId: ':passwordTokenId' })where thepasswordTokenIdis the parameter that will be replaced with the actual value when visiting/setPassword/pwt(for example,pwt).
We also fixed a mistake where we previously defined VerifyPasswordToken as a mutation while it is a query as it doesn’t have side effects.
Verify email screen
The VerifyEmail component handles email verification as part of the authentication flow. Below is a breakdown of its functionality:
- Automatic Verification
- Extracts
verificationTokenIdfrom the URL parameters. - Calls
useVerifyEmailMutationon mount to verify the email with the backend. - Prevents duplicate toast error messages using
preventToastErrors: true.
- Extracts
- Redirection on Success
- If the verification is successful and the response includes a
passwordTokenId, redirects the user to the Set password screen (ROUTES.SET_PASSWORD({ passwordTokenId })).
- If the verification is successful and the response includes a
- Handling Errors
- If verification fails, displays an error message with a link to the sign-up page, allowing the user to create an account again.
- User Experience Enhancements
- Displays a loading spinner (
OverlaySpinner) while verification is in progress. - Uses
react-i18nextfor multilingual support.
- Displays a loading spinner (
Sidebar & Sign-Out Functionality
With the authentication flow complete—allowing users to create, recover, and authenticate their accounts—we now need to provide a way for them to log out.
Sidebar
To avoid cluttering the main interface with a sign-out button, we implemented a hamburger menu in the navigation bar. This menu toggles a sidebar, which:
- Appears as a floating overlay.
- Can be dismissed by clicking outside the sidebar or using the back button.
- Displays the currently logged-in user's email.
- Provides a Sign Out button.
Sign-Out Mechanism
Pressing the Sign Out button triggers our previously defined logout utility, which:
- Calls the API
Logoutmutation, removing therefreshTokenfrom the database, invalidating it. - Resets the
apolloClientcache. - Resets the auth store.
Implementation Details
- Added a reusable
Sidebarcomponent with a floating layout. - Introduced
isSidebarOpenstate inuseAppStoreto manage sidebar visibility. - Modified the main authenticated screen to include the sidebar.
- Updated the navigation bar to include a hamburger button for opening the sidebar.
- Implemented sidebar functionality to display account information and a Sign Out button.
Signing out will trigger a sequence of events:
- Calling
Logoutin the API will remove therefreshTokenfrom both the cookies and the database so it cannot be used anymore to generateaccessTokens. - Clearing the
authStorewill makeauthbenull, so ourRoutescomponent will switch routers fromAuthenticatedRoutestoUnauthenticatedRoutes. - The
UnauthenticatedRoutesrouter will redirect the users to/signIn.
Conclusion
With these authentication flows in place, users can now sign up, reset passwords, verify their emails, and sign out securely. Our frontend is fully integrated with the GraphQL API, ensuring a smooth authentication experience.
A summary of all code changes can be found on this GitHub link.
Next steps
Currently the users can authenticate themselves, but the tasks created don’t belong to their account as we are still using our local mock API for task operations. In the next post we will use Apollo Client to perform task operations with our real API.
Here's how our timeline look like now: